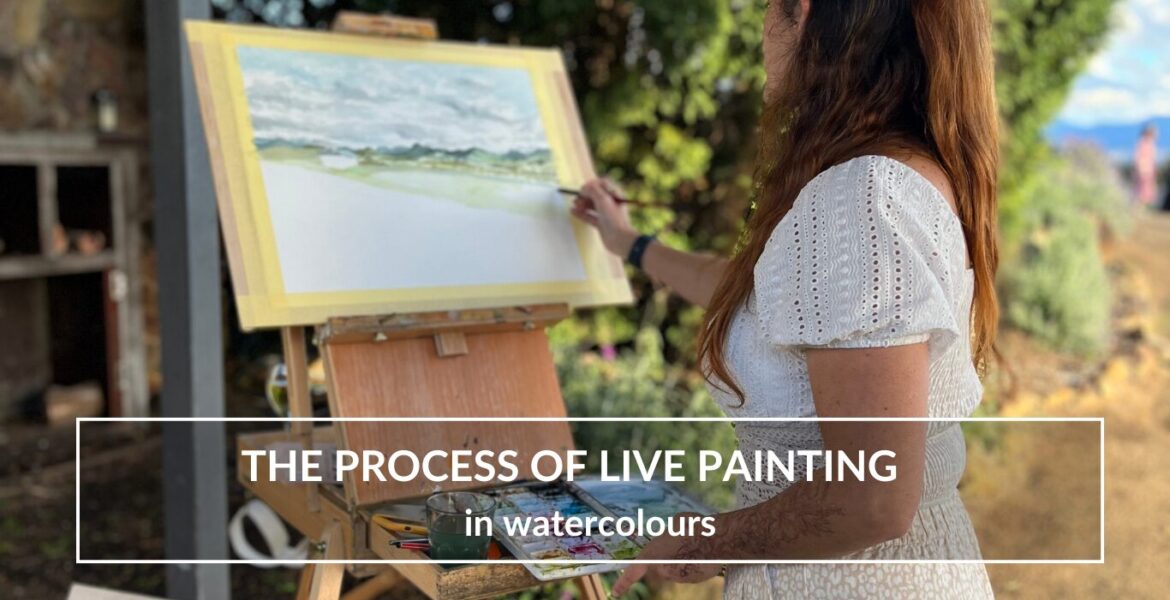
The process of live painting in watercolours
Hello, fellow art enthusiasts! 🎨 Today, I’m thrilled to take you behind the scenes of my live watercolour painting process. Whether you’re an aspiring live artist or simply a lover of creativity and hear for a sticky beak, I hope to share some insights that will inspire you to embrace the whimsical world of watercolors.

The Magic Begins: Setting the Scene
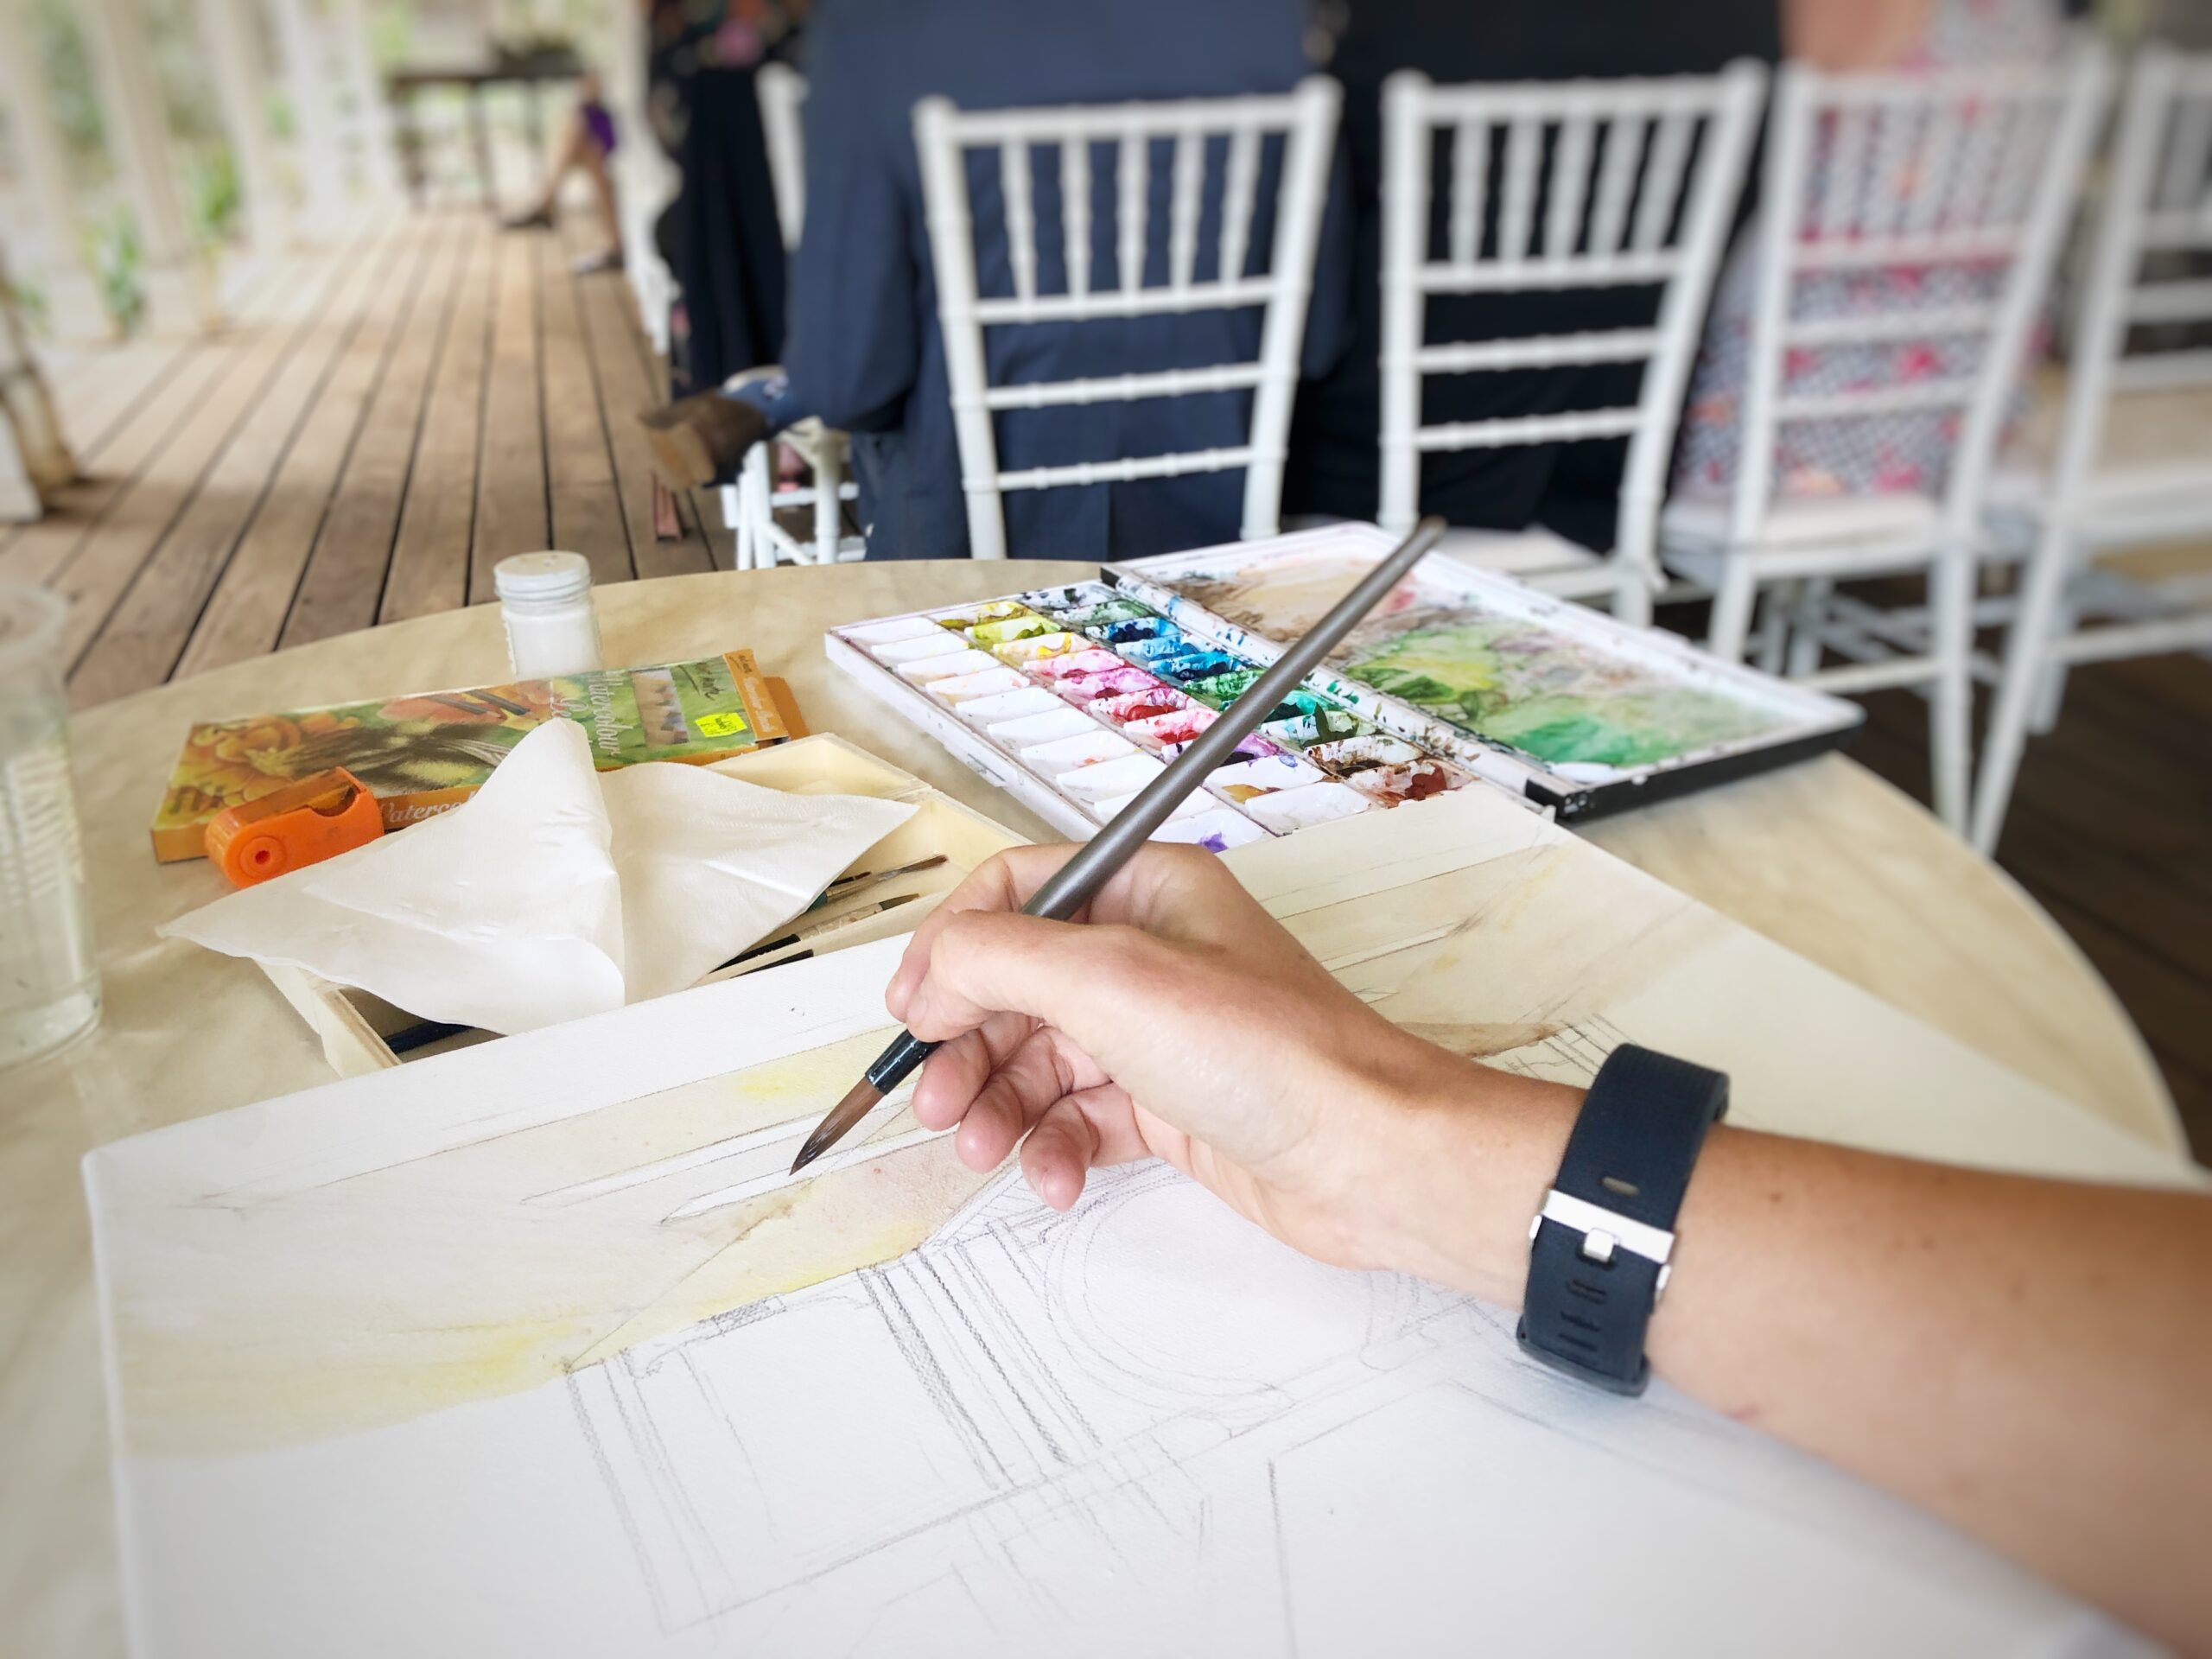
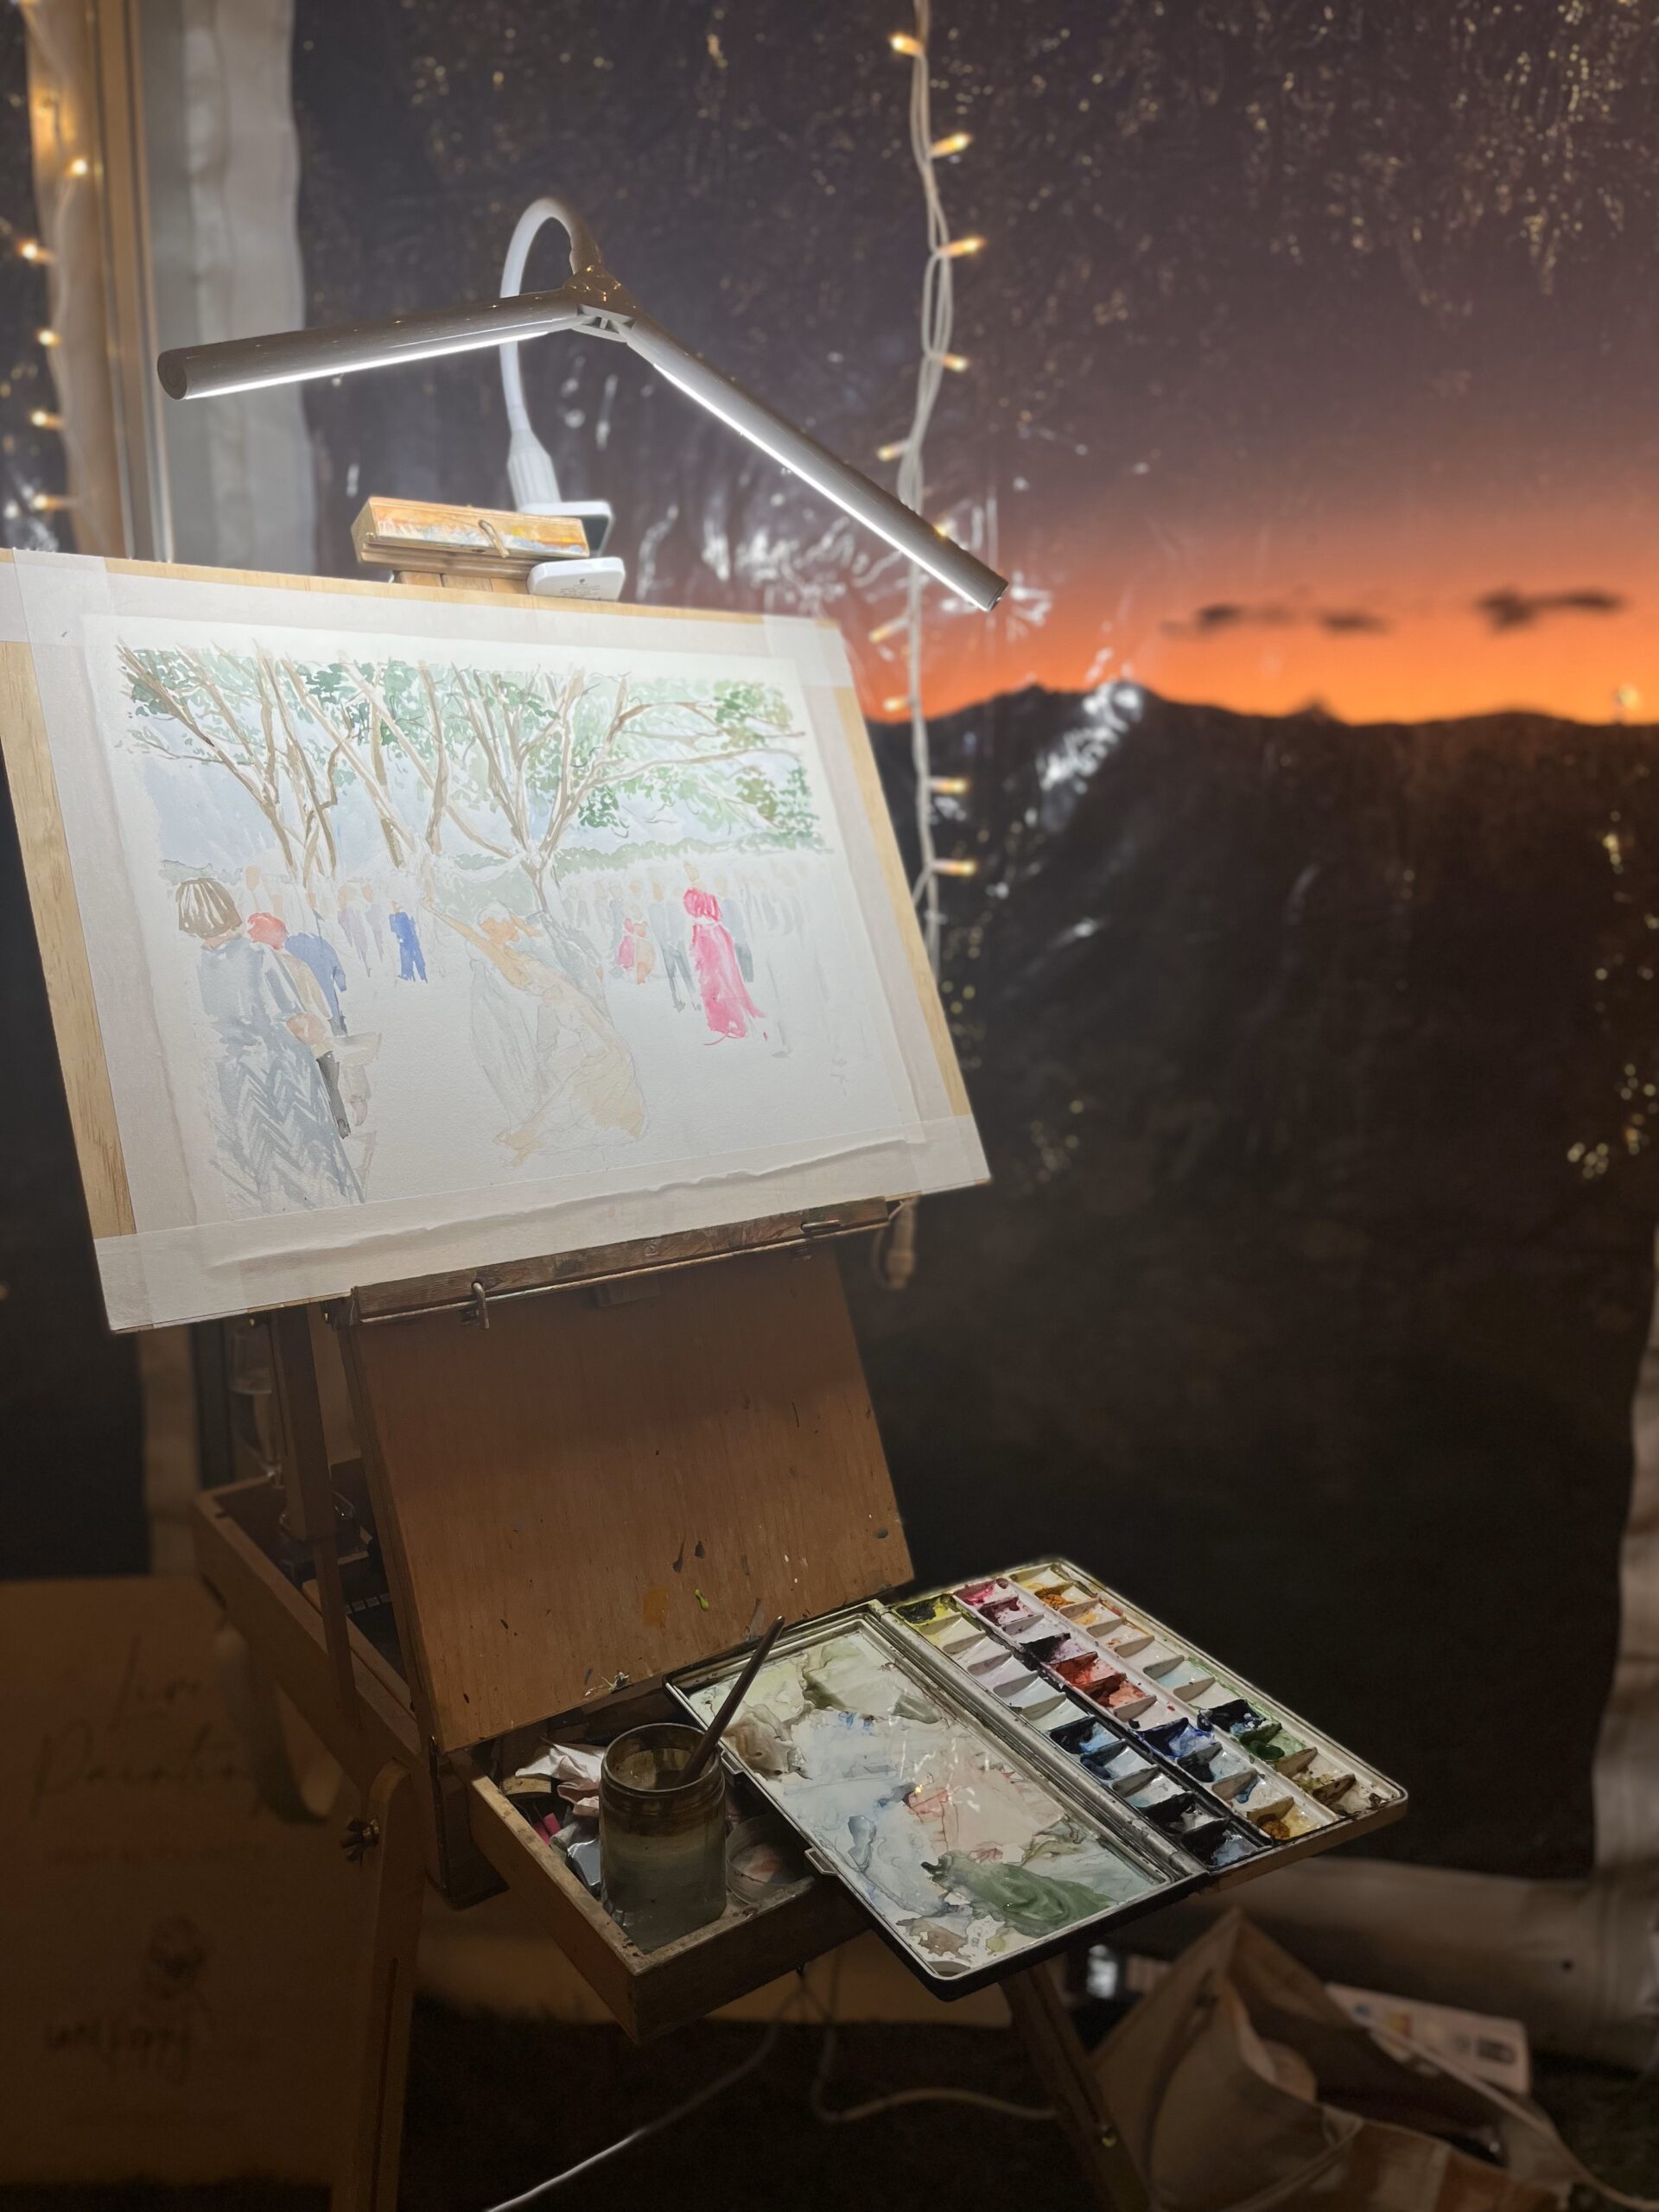
Every live painting session is like a new adventure! I start by setting up my space, ensuring I have all the essentials at hand: high-quality watercolor paper backed onto a wooden board, a watercolour palette with my favorite colours, brushes of various sizes, and of course, my trusty water container. Creating a comfortable environment is key, as it allows me to focus entirely on the art, so making sure I’m not in direct sun or too cold also comes into it.
Choosing the Subject: Inspiration Strikes!
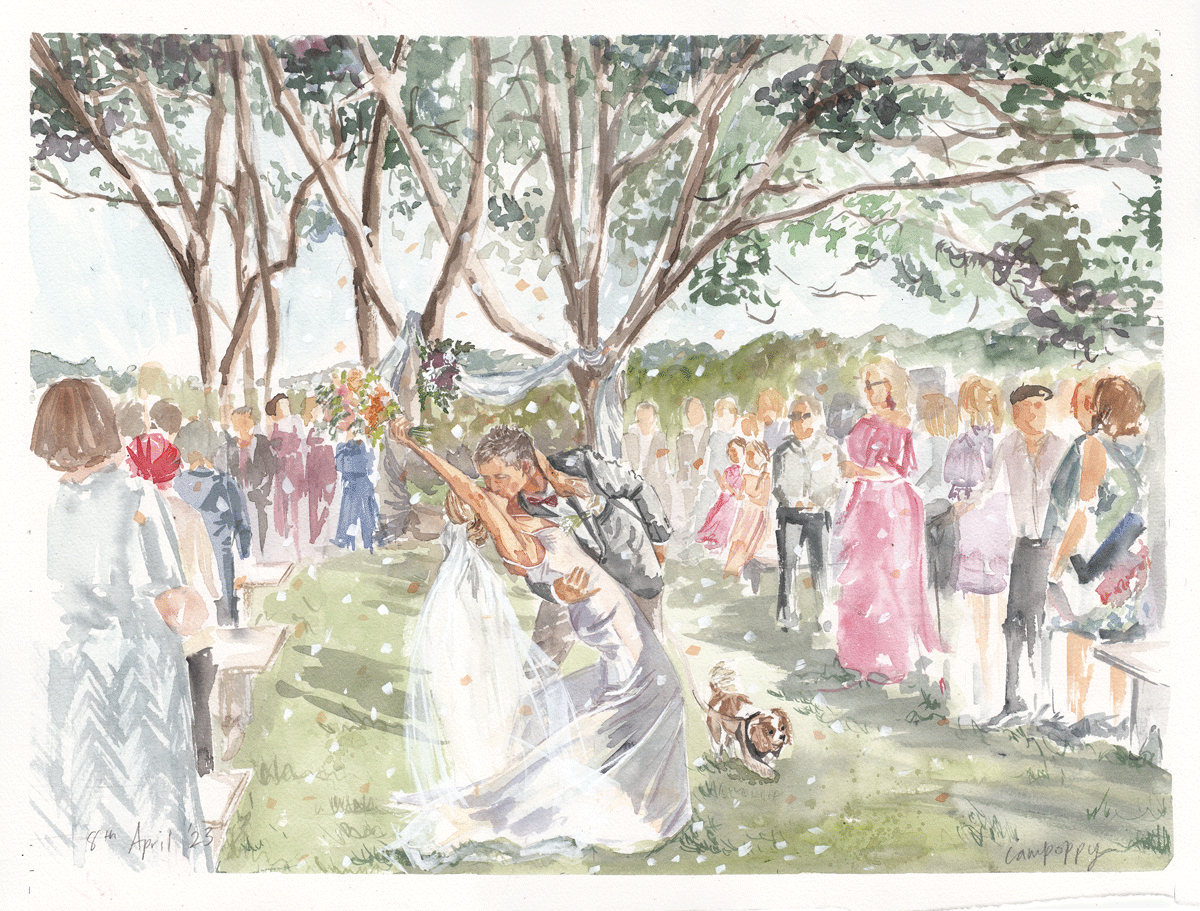
Before I dive in, I have a look around the venue to choose the best composition. Most of the time, my client has given me an idea of the pose they want, and the space, but I still have creative freedom in capturing from different angles. Once the moment that I’m painting happens, I video and then use the footage to create a drawing.
Creating the base – drawing begins
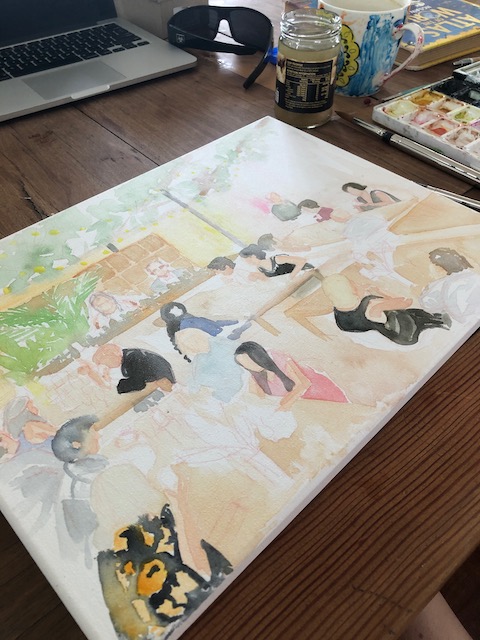
I always create a drawing of the scene, as working in watercolours can be unforgiving, and mistakes are hard to rectify. The drawing helps me know where I want the paint to go, without overworking the piece. I usually add the couple in the middle or in a third, to create a focal point. The background can be loosely drawn, as I want this to be more free and energetic.
Layering the Colors: The Heart of Watercolor
Once I’m set and inspired, it’s time to bring my vision to life. Watercolour painting is unique in its delicate layering technique. I start with a light wash, establishing the background and overall composition. This initial layer sets the tone, allowing the subsequent colors to build upon it. I add to the background while the paper is wet, to create bleeds and patterns.
A few tips: Did you know that wet-on-wet techniques create dreamy, soft edges? Simply apply wet paint onto a wet surface for a beautiful blend! And for sharper details, the wet-on-dry method (applying wet paint onto dry paper) is your best friend. I use this method for the couple and sharper edges of the buildings, trees and florals.
Embracing Mistakes: The Beauty of Imperfections
One of the most liberating aspects of live painting is the acceptance of imperfections. In watercolour, mistakes can lead to unexpected beauty. A splash here or an unintended colour blend there often transforms into a delightful surprise. I encourage everyone to embrace their errors—after all, art is about the journey, not just the destination!
Engaging with the Audience: Creating Connections
As I paint, I love to interact with the audience. I get to hear stories about the couple, or I share experiences as a live painter, techniques that I’m using and more. Engagement is key! I often invite questions, encouraging viewers to explore their curiosity about watercolour art and live painting. This connection makes the experience richer for everyone involved and adds to the entertainment on the night.
The Grand Finale: Showcasing the Artwork
As the final touches are applied, the excitement in the air is palpable. I often take a moment to step back and admire the work. It’s not just about the finished piece; it’s about the shared experience with everyone who watched it come to life. I love to announce a mini-reveal, allowing the audience to appreciate the intricate details and vibrant colors that emerged from our collective energy. I do always take paintings back to the studio to edit and add to, but the reveal at the event is a big part of the entertainment and I’m always blown away by the response.