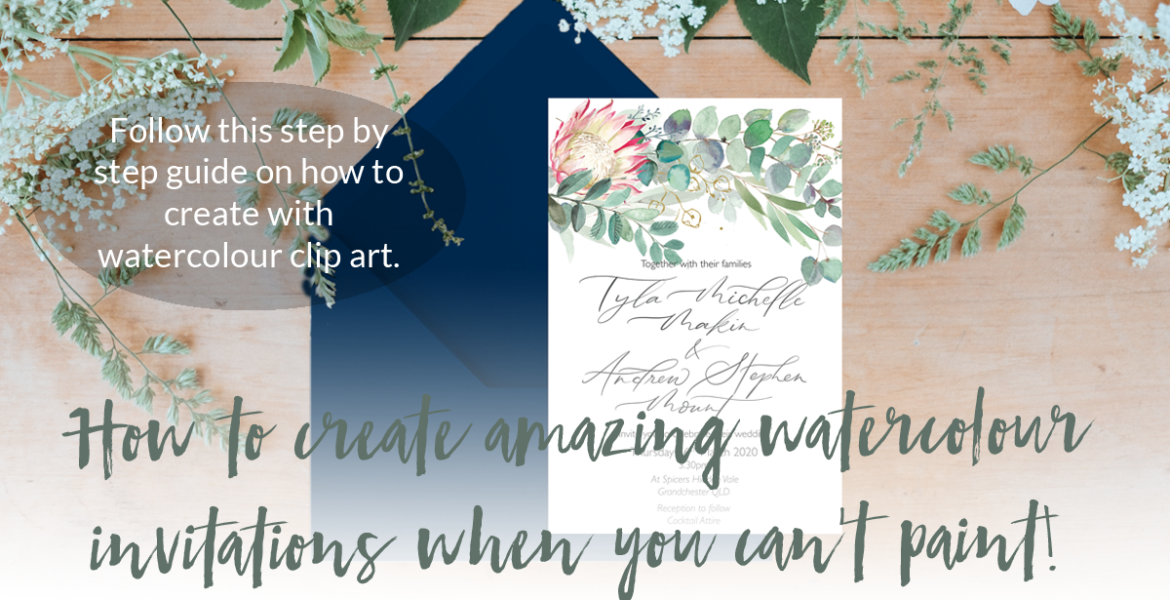
How to create amazing watercolour invitations when you can’t paint!
You’ve seen loads of AMAZING designs on Pinterest, and you want to create something like it at home.
Or, maybe you’re a great designer; creating gorgeous invitations, but you don’t have those painting skills needed to launch a watercolour range.
Whatever the case, I can help you create amazing watercolour invitations without ever needing to pick up the paintbrush!!
Woo hooo….. Lets get started shall we?
The first thing I’m going to suggest is you get yourself Adobe Photoshop, InDesign or Illustrator to work with. Personally, I create the floral parts of my invitations in Photoshop, and then the layout and text in InDesign. I’m sure you can use another program, however I’m going to focus on Adobe today, as that’s all I know really.
You will also need to download a set of watercolour clip art files. You can find some FANTASTIC ones here, on my website, or you can head over to Creative Market to find other options. These usually download in a ZIP file, which you will then need to expand, to which you’ll be greeted with a collection of JPEG, PNG files or Photoshop files.
A little tip before starting, sketch out a little plan of what you want the invites to look like. Keep this on hand.
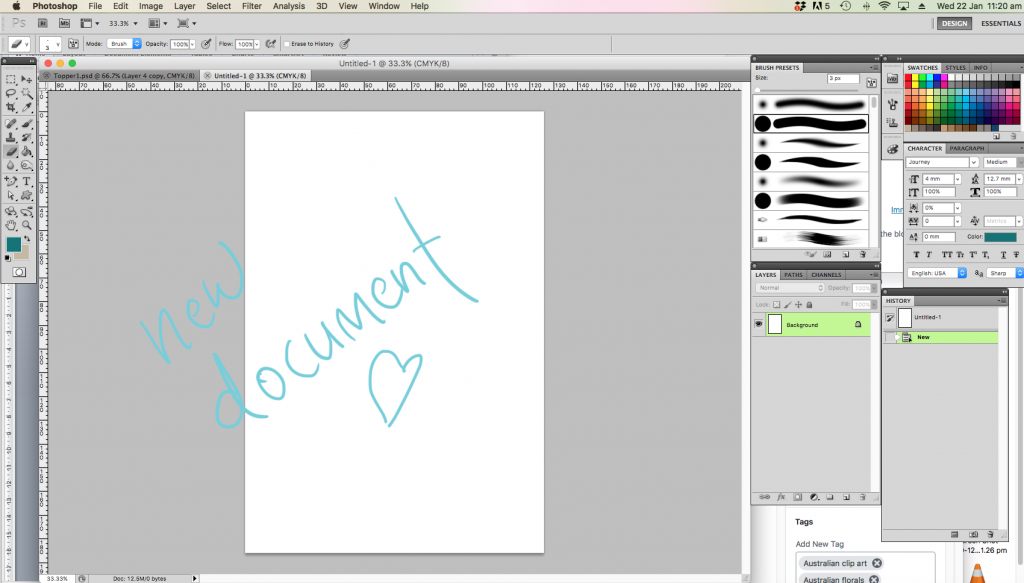
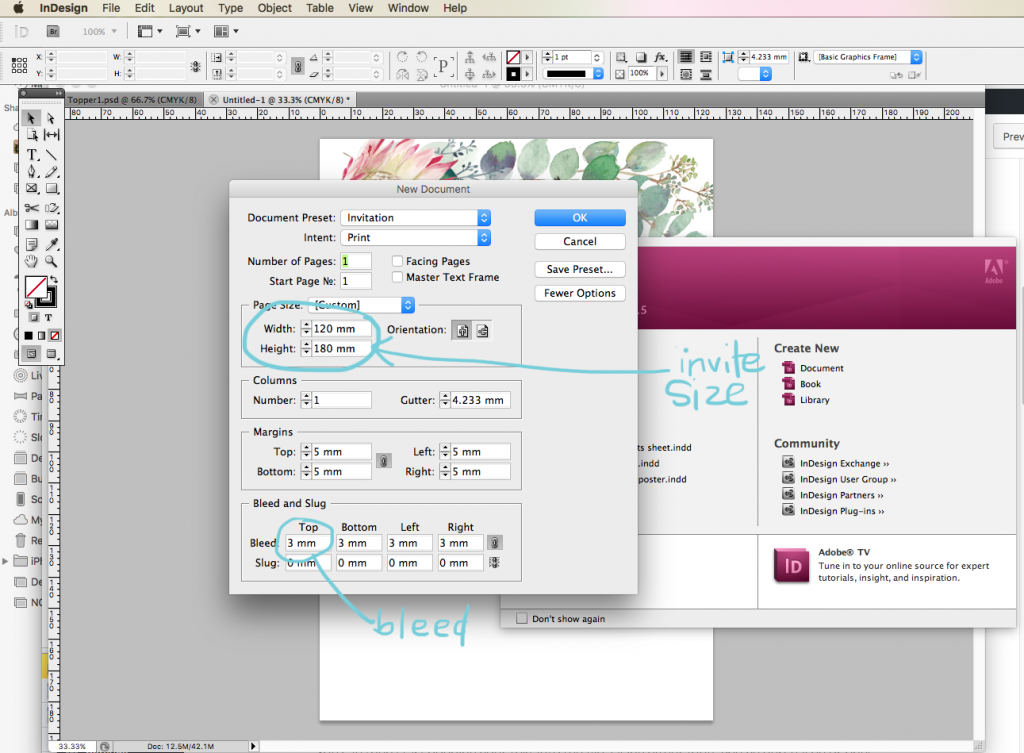
Start by creating a document, the size of the invitations you will need, and a bleed around the edge. This is important, as the printer will NEED A BLEED to be able to trim it all perfectly.
I USE 120X130MM INVITATIONS, WHICH WILL BE A PHOTOSHOP FILE OF 126X136MM (3MM BLEED)
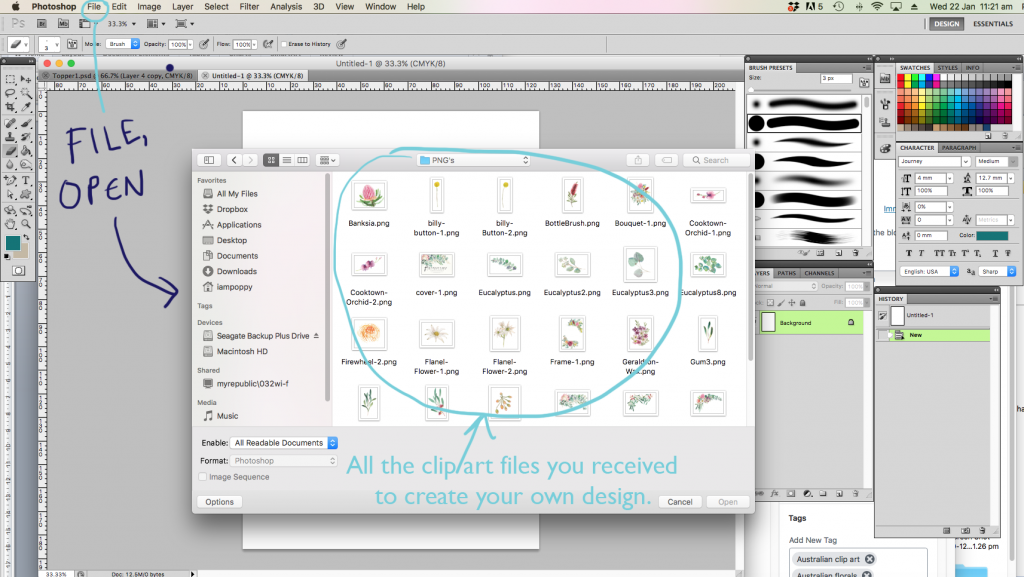
Open your collection of clip art files from where you have stored them on your computer.
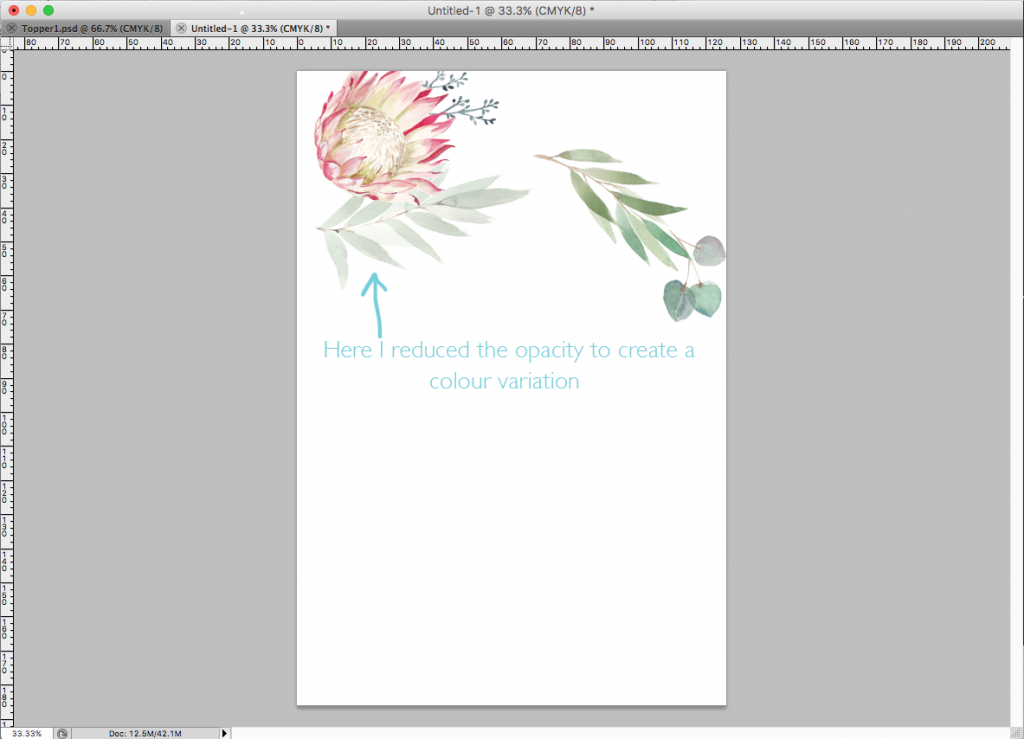
Start by building the floral elements together, copying from one file to your invitation file. Each different element should be in its own layer, so you can play with scale, colour, etc.
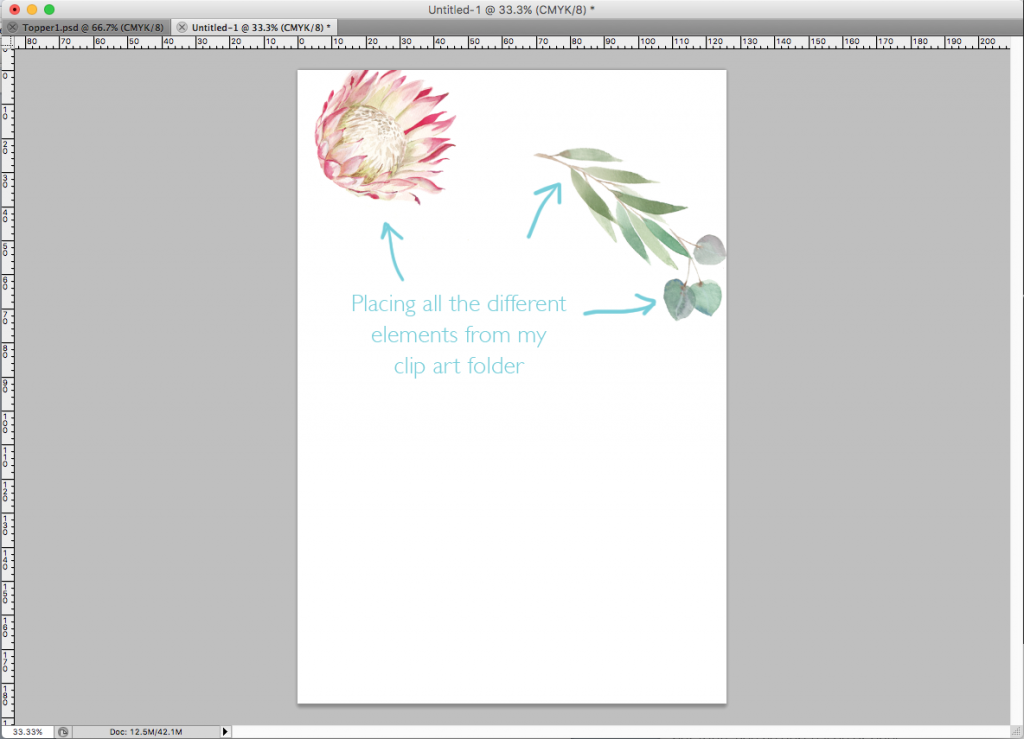
The more elements you add, the denser your image will be. Sometimes you will need to reorder the layers to make sure the correct florals are at the top, and leaves are behind.
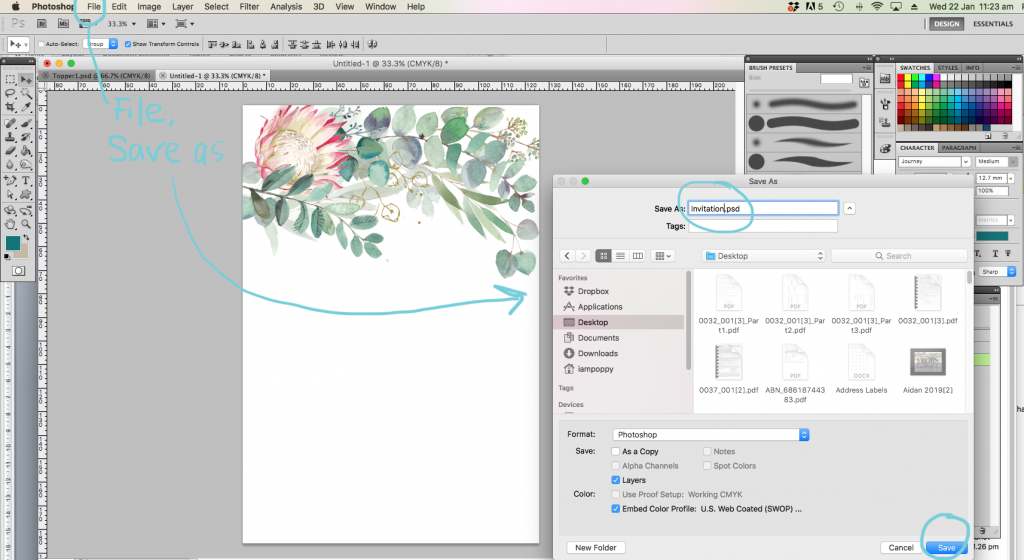
You can then save this file as your floral file or invitation file, and move over to InDesign.
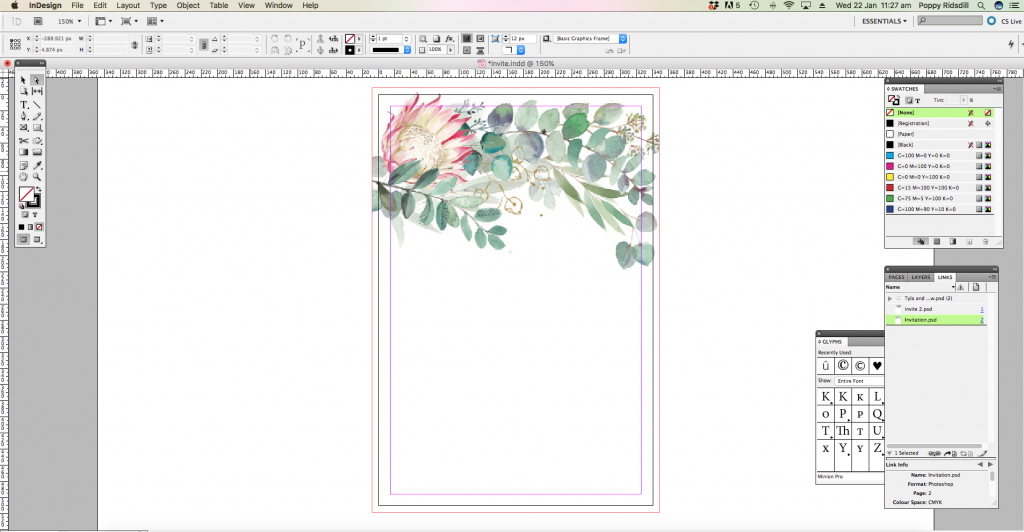
Open up a new file, the same size as your invitations will be when printed and trimmed. I use 120mmx180mm. You can then place the floral file in place. It will slightly overlap, due to the bleed, but this is ok, as the InDesign will have a bleed when saving.

In order to PLACE your invitation file, head to the little box symbol on the tool bar, click and drag to the size you want it, and press Command D to take you to your files to choose your image.
You can then start popping your text into the file. Using either fonts you’ve purchased or ones that come with your program. It totally depends on the look you’re going for.
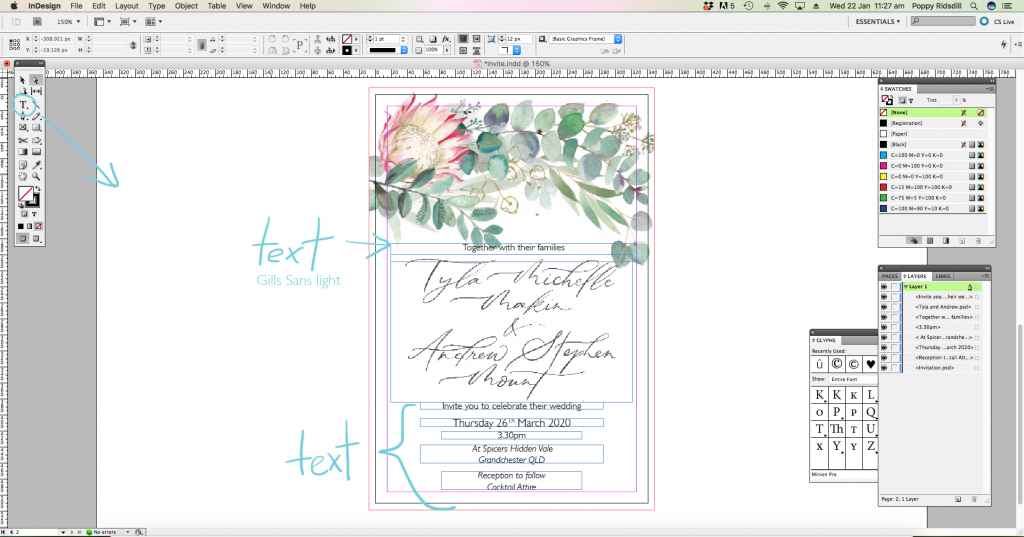
I personally love mixing cursive fonts with a Serif font for a more classic look and a San Serif font for a more modern feel.
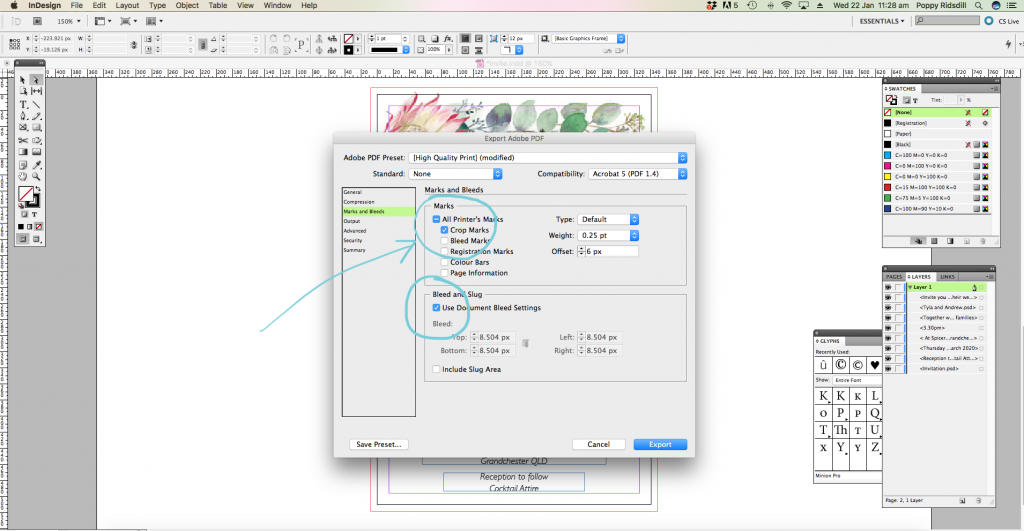
Head to file, ADOBE PDF PRESETS and HIGH QUALITY PRINT. Make sure you check the correct boxes to create crop marks for your printer.
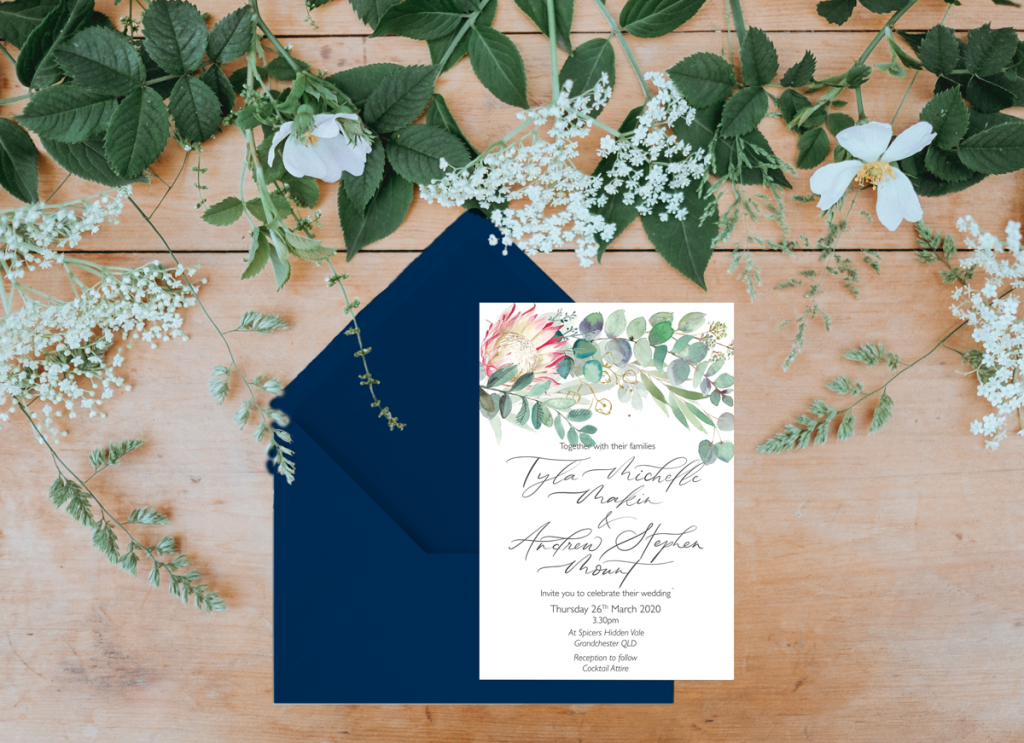
There you have it! You’ve made a wedding invitation with gorgeous watercolour imagery, without every having to pick up the paintbrush.
I created this AUSTRALIANA collection for designers needing some gorgeous Australian florals, with loose watercolour vibes. Check it out for your next project!